Advanced Boss Strategies (Killer Bean 2026)
The deep dive. These are the phase‑by‑phase strategies that the r/KillerBean Discord and the WeMod community have been refining since the June 8 EA launch. If the basic guide on /bosses isn't enough, this is the next step.

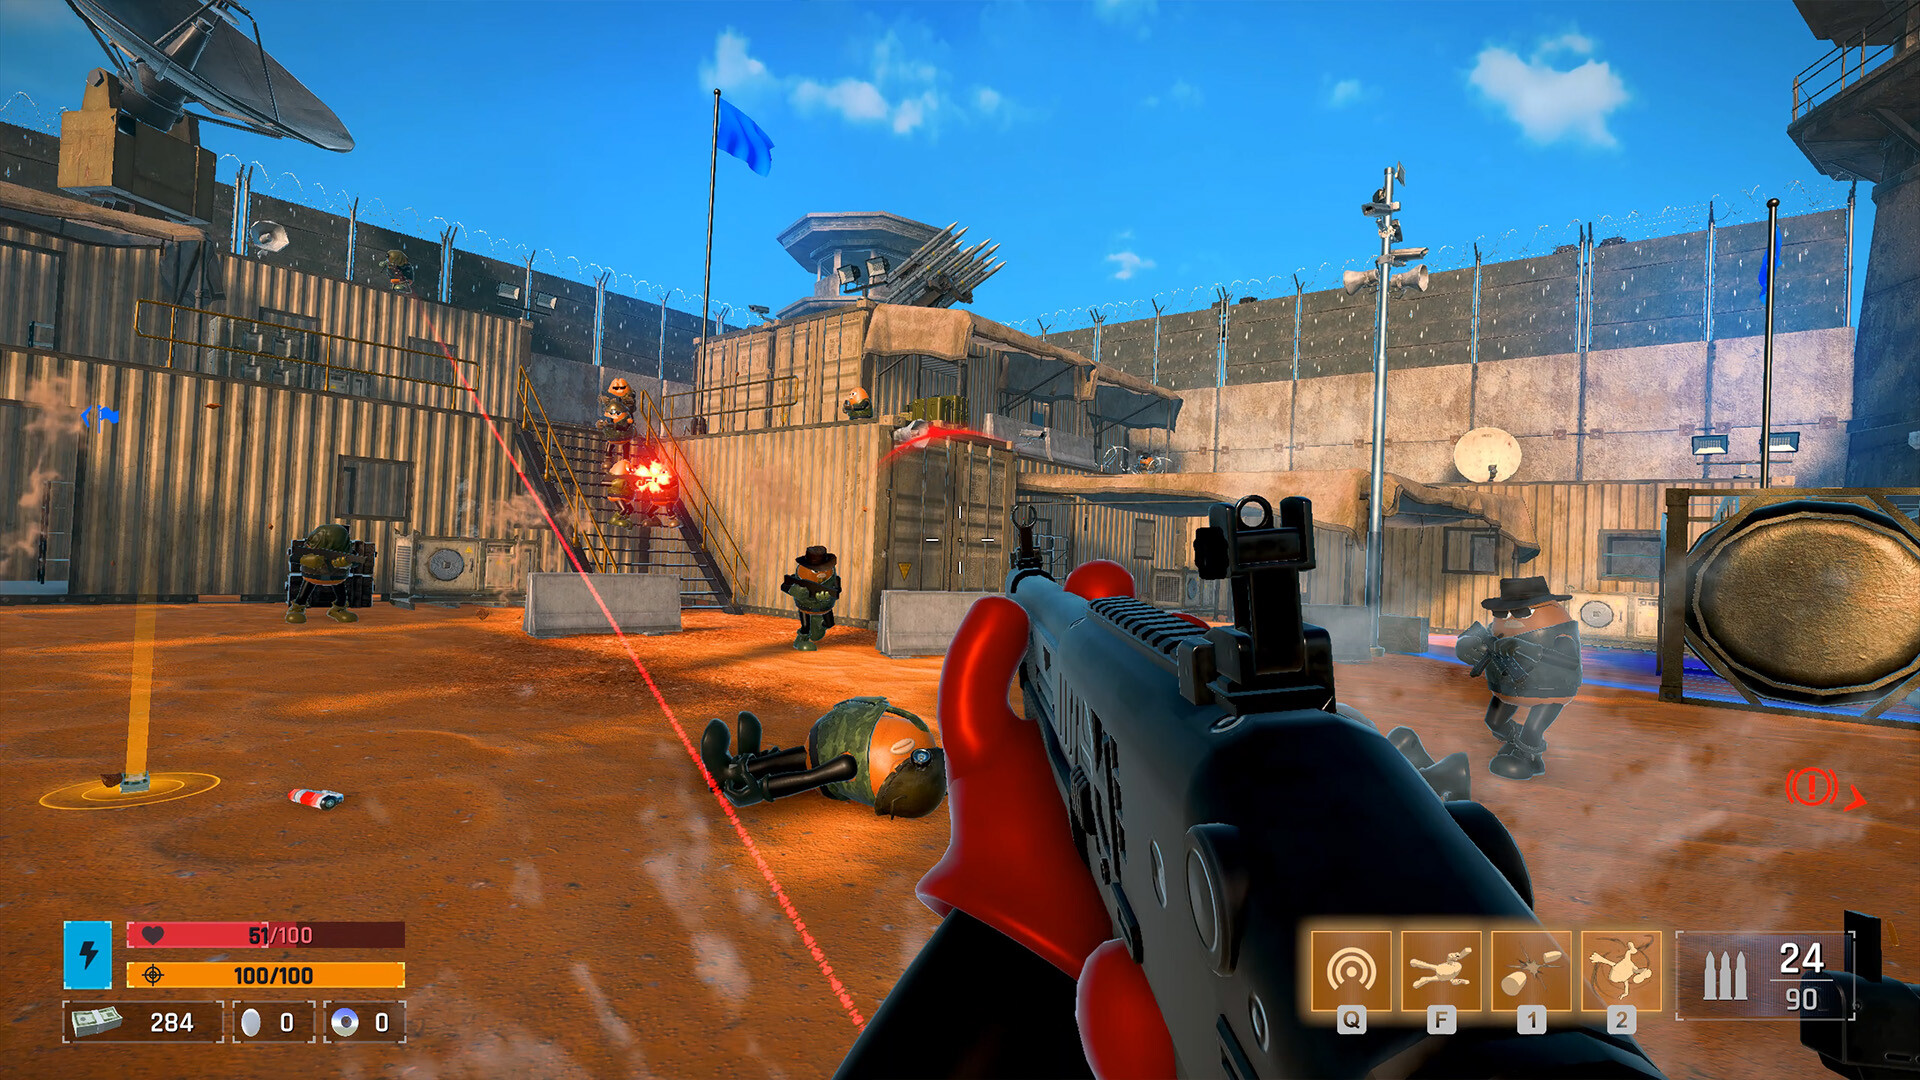
Corridor fights — boss damage windows are tightest in confined arenas like this
Gameplay screenshot © Killer Bean Studios, LLC — used under editorial fair use.
👾 Shadow Bean Commander — phase 3 burn
Phase 1 (100% → 60%): Ranged suppression. The Commander takes cover behind a sandbag wall and shoots a 3‑round burst every 2.5 seconds. Dive into the bullet‑time window during the 2nd round, tap‑fire your Deagles, and exit the slow‑mo on the third shot's recovery frame. Don't chase — stay at mid range.
Phase 2 (60% → 30%): Melee charge. The Commander pulls dual shotguns and rushes you. The trick is to bait the charge into a wall (the geometry is forgiving on the Island biome), then unload the Burrito Launcher into the staggered recovery. The explosive radius will also clear the two Shadow Troops he summons.
Phase 3 (30% → 0%): Shadow Troop summon + rage mode. He calls 4 Shadow Troops, then charges you with the shotgun combo. Use the Burrito Launcher on the adds (one shot each), then burn the Commander with the Deagles' bullet‑time crit window. The rage mode increases his fire rate but also increases his recoil — aim for the head.
👾 Pirate Commando Captain — fuel tank one‑shot
Phase 1 (100% → 70%): Gunship support. A pirate helicopter strafes the arena every 8 seconds. Use the rock formations for cover. The Sniper Bean can hit the helicopter's tail rotor if you time the hover.
Phase 2 (70% → 40%): Sandstorm + flamethrower sweep. Visibility drops to 10 meters. The Captain closes distance with a flamethrower that does massive damage. Don't try to out‑DPS the flame — back off to 12 meters and let it end.
Phase 3 (40% → 0%): Fuel tank exposure. This is the one‑shot window. After the flamethrower ends, the Captain turns his back to reload — the fuel tank is mounted on his spine. One Sniper Bean shot to the tank deals 30% of his max HP. Two shots + a melee finisher clears the fight. The third phase also drops his armor, so the Plasma Bean shreds the rest.
👾 Mercenary Juggernaut — the bullet sponge
Phase 1–4 (100% → 30%): The Juggernaut is immune to damage on his front torso. The only damage window is the EMP pulse, which exposes the reactor core for 1.8 seconds. The pulse cadence is 8 seconds — so the rhythm is wait, wait, wait, shoot, wait, wait, wait, shoot. Don't waste ammo outside the window.
Phase 5 (30% → 0%): Summon + rage. The Juggernaut calls 3 mercenary mechs. Switch to the Explosive Burrito Launcher to clear the mechs, then switch back to the Plasma Bean for the final two EMP pulses. Bring at least 4 Loot Magnet drops or you'll run out of ammo before the kill.
👾 Shadow Agency Director — the cycle
Cycle: head → heart → spine. The Director has three weak points that cycle in order. Hitting the wrong weak point does 0 damage. The visual tells are subtle — the head glows red on phase 1, the chest plate opens on phase 2, the back vents glow on phase 3. The cycle resets on every phase change.
Phase change (every 25% HP): The Director summons a Shadow Bean elite. Killing the elite with a Stealth finisher resets the cycle to phase 1 — this is the only way to skip a phase. The speedrun meta is to skip phases 4, 5, and 6 with three back‑to‑back stealth finishers.
Volcano eruption: At 50% HP, the volcano erupts and falling rocks do 10% max HP per hit if you're in the open. Don't break line of sight to the Director — the eruption kills you faster than the boss does. Stay on the metal catwalks.
🪖 Miniboss cheesing
Rally Bean: Sniper Bean from the ridge. Two body shots + one to the engine. The driver is the only required kill.
Pirate Artillery Crew: One rocket to the ammo crates clears all three pirates. The reinforcement wave is harder than the miniboss itself.
Mercenary Helicopter: Sniper Bean's tail rotor shot is one‑shot if you time it during the 2‑second hover. The door gunner will tag you if you stand still — keep strafing.
Shadow Elite: Skip if you don't have Stealth tier 2. The invisibility + back‑stab combo is the only reliable way to deal damage. The drop is a single skill token, not worth the deaths on a first run.